1. What is ManyCam?
ManyCam is a free webcam software and video switcher that allows you to enhance your video chats and create live streams on multiple platforms at the same time. With ManyCam, you’ll be able to create professional-looking broadcasts on your favorite platforms, record your screen, add many effects, add music, apply green screen, draw over your video, add multiple webcams to your stream, share your screen, connect your mobile and IP cameras, stream games and many more.
2. How does ManyCam work?
As shown below, ManyCam allows you to pick a video source for your stream, adjust it by applying effects and various multimedia settings, and start streaming/recording.
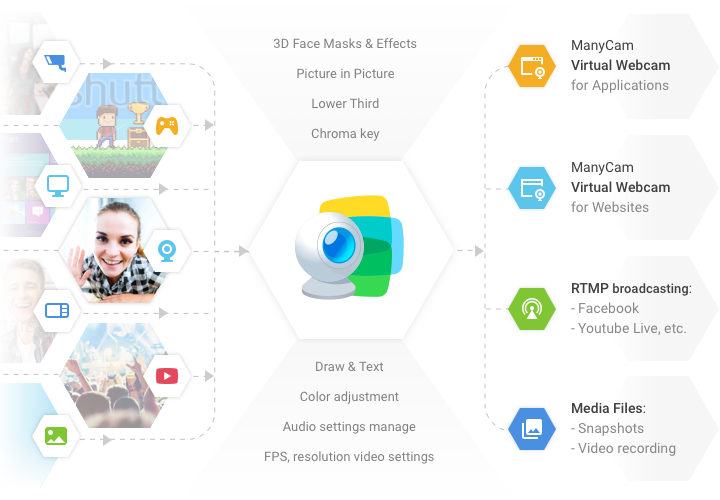
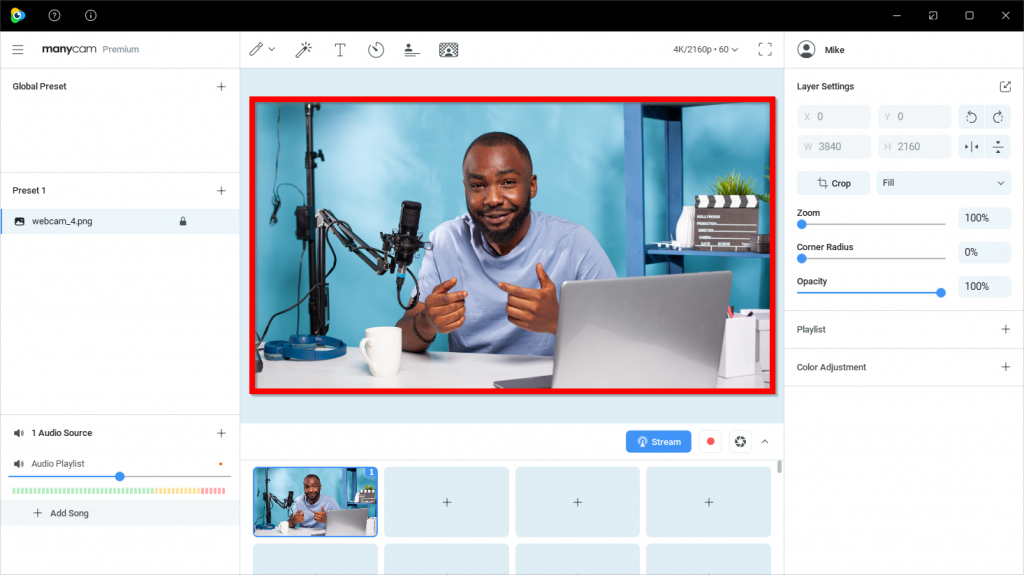
The video sources you select and any changes you introduce to your feed will appear in the Main Live Window – the largest window that shows the output picture with all the effects and settings currently applied.
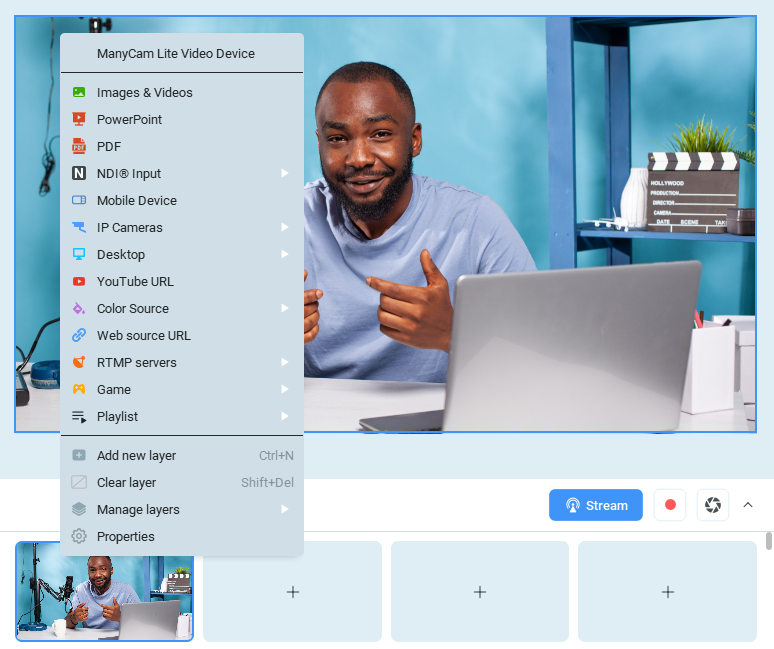
The output image you see in the Main Live Window is being transmitted to the application where you selected ManyCam Virtual Webcam (or ManyCam Video Device) as a video source. By right-clicking on the Main Live Window, you can choose the output video source: your web cameras, game, IP cameras, your desktop area, media files, YouTube videos, cameras of your mobile devices or some blank images, or manage layers.
3. How to activate ManyCam 8?
1. Download ManyCam 8 from our official website: download.manycam.com
2. Install and launch ManyCam 8
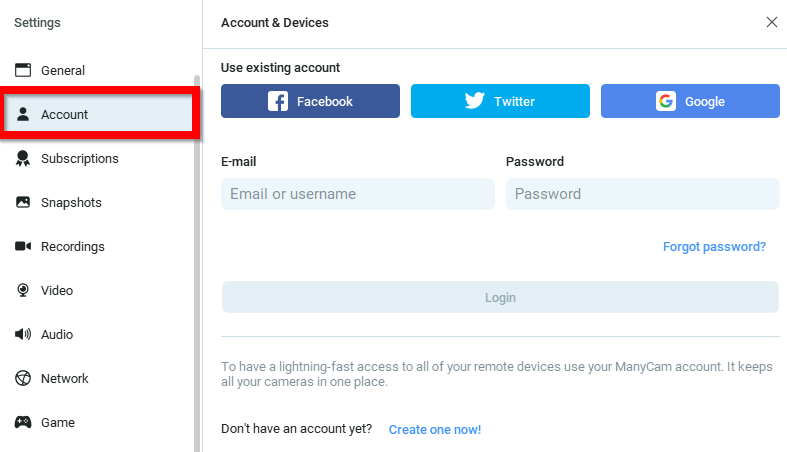
3. In the app, navigate to ManyCam Menu > Settings > Account and log in with the ManyCam account you created during the purchase.
4. Then go to Settings > Subscriptions and make sure your subscription is enabled.
Learn more: ManyCam activation
4. How do I add a webcam?
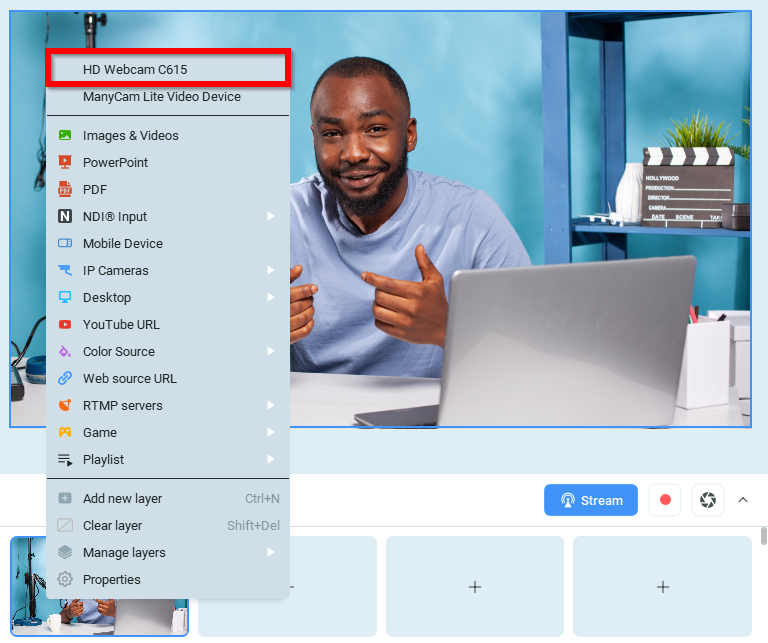
1. Open ManyCam and right-click on the Main Live Window
2. Select the webcam or another source you need from the drop-down list. Learn more about ManyCam’s video sources: All available sources
To add multiple webcams/video sources to a single feed, use the Picture-in-Picture mode.
5. How do I add an audio source (microphone) in ManyCam 8?
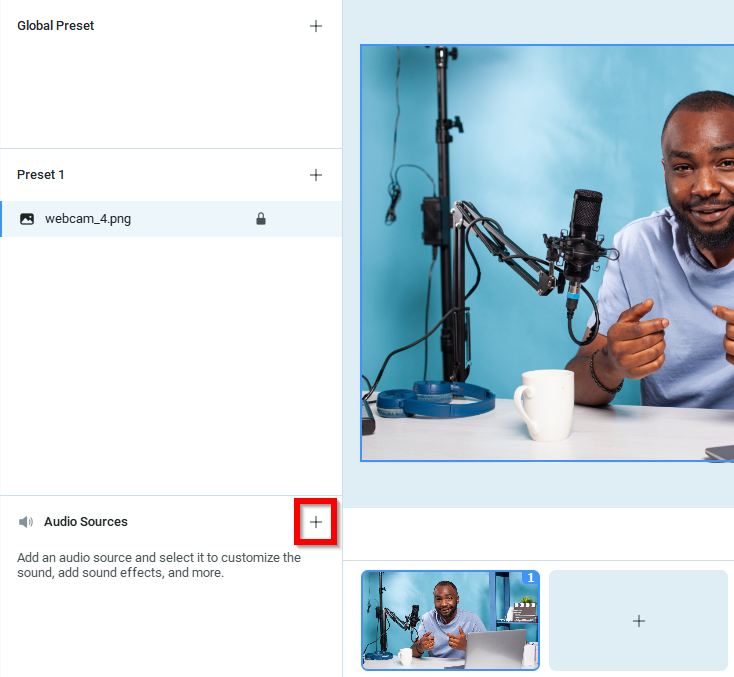
- Click the plus icon next to Audio Sources as shown below.
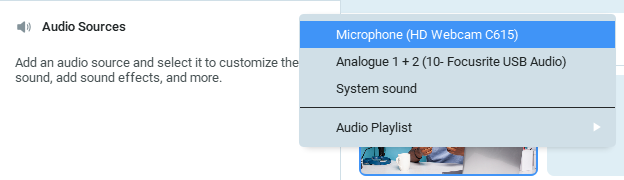
2. Select your microphone from the drop-down list that appears.
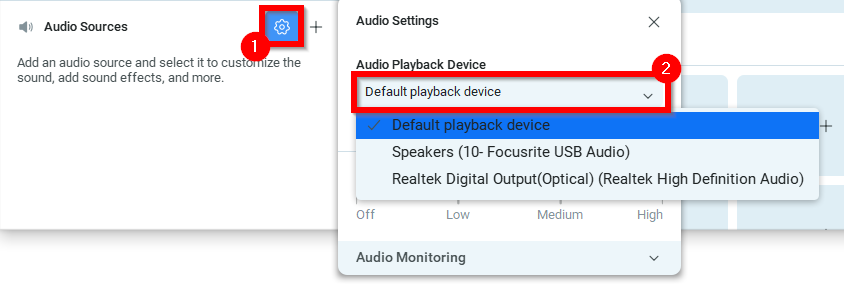
3. Select your speakers as Default Playback Device in Audio Settings by clicking the gear icon.
Learn more about Audio Settings
6. Setting up ManyCam before going live
- Select the video source you want to go live with (see above)
- Select the resolution (recommended 720p or 1080p) in the Video settings
- Select the FPS rate (recommended 30 FPS)
- Set up your Audio settings (select your microphone as an Audio Input, select your speakers as a Playback Device)
- Apply effects if your broadcast requires any (ManyCam effects, Chroma key, Lower third, etc).
7. How do I use ManyCam with a website/application?
Video settings (Webcam)
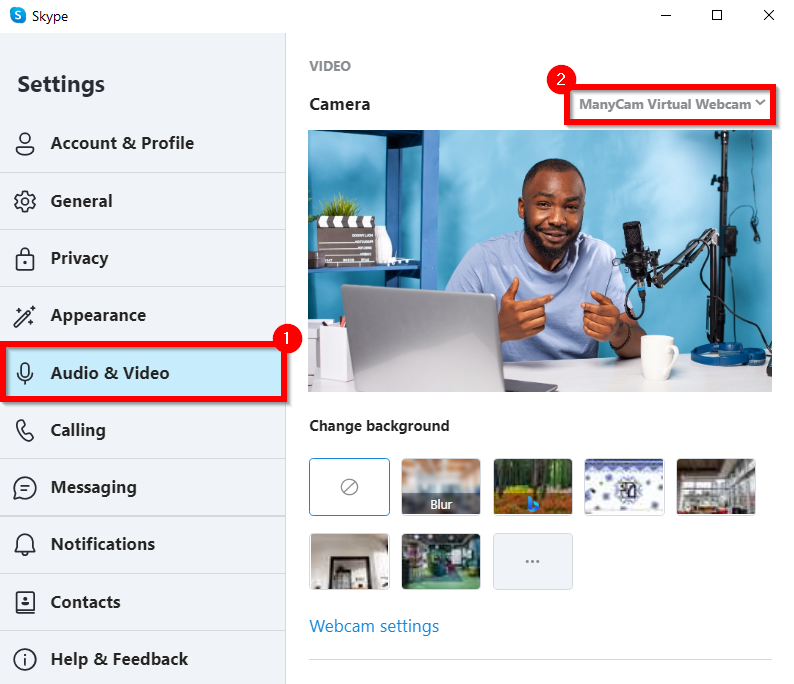
To use ManyCam as a webcam in an application or on a website, you need to select ManyCam Virtual Webcam as a video source in Video settings.
The output image you see in ManyCam’s Main Live Window is being transmitted live to an application/website where ManyCam Virtual Webcam is selected as a video source.
See how it’s done in Skype:
Audio settings (microphone and playback device)
- Set your native microphone as an Audio Source and your speakers as a Playback Device in ManyCam (see above)
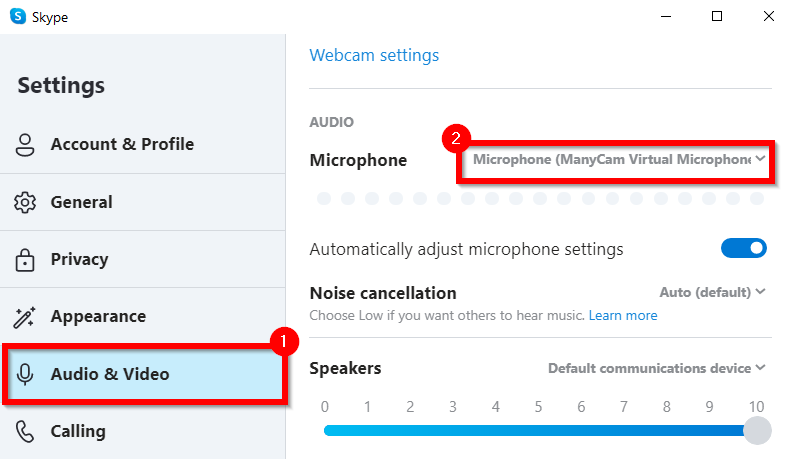
- Select ManyCam Virtual Microphone as a microphone source (audio input device) in the Audio settings of an app/website you are going to connect ManyCam with. Learn more here.
See how it’s done in Skype:
8. How do I go live on Facebook with ManyCam 8?
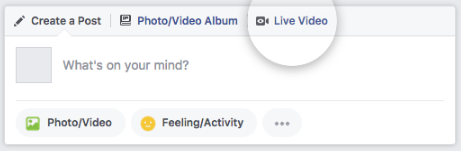
1. Select the Live video option from your news feed
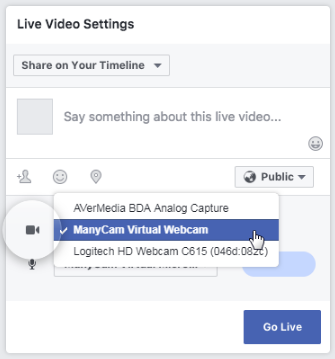
2. Select ManyCam Virtual Webcam as a Video source and Go Live
Learn about other ways to go live on Facebook: How to stream to Facebook Live with ManyCam
How to stream to other platforms with RTMP streaming connection
9. How do I make a recording?
- In case you need to capture the audio feed, make sure you’ve added your microphone or other audio input devices.
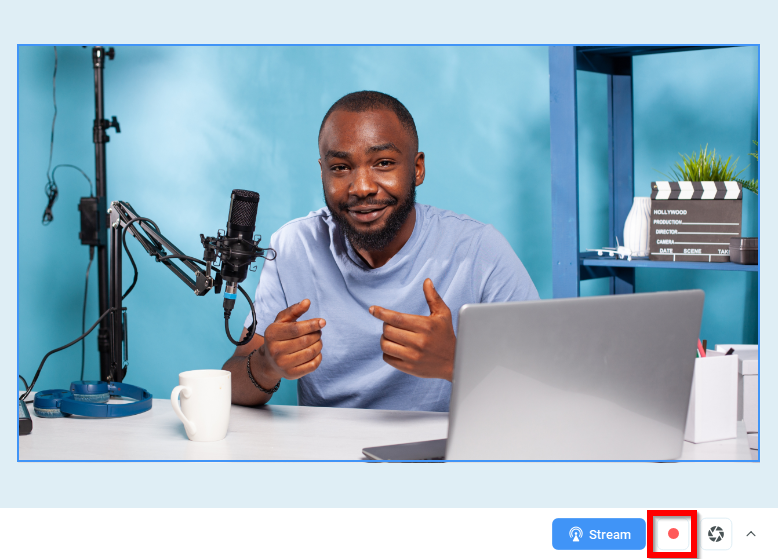
- Press the record button, the video will start recording. On the right, there will be a timer showing the current length of the recording.
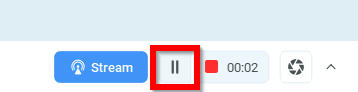
- If you want to skip some of the material being recorded, press the pause recording button that appears to the left of the start recording button during the recording session. Once resumed, ManyCam will continue recording to the same video file.
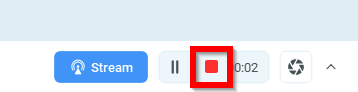
- To end your recording session, you will need to click on the stop recording button. This will save the recorded file to the specified location.
By default, all recorded videos are saved to the user’s profile folder on your computer’s hard drive.
macOS default location: /Users/user_name/Movies/ManyCam
Windows default location: C:\Users\user_name\Videos\ManyCam
Learn more about Video Recording
10. How do I connect a mobile device?
Please refer to this guide to connect your mobile device as a camera source.
11. How do I replace my background?
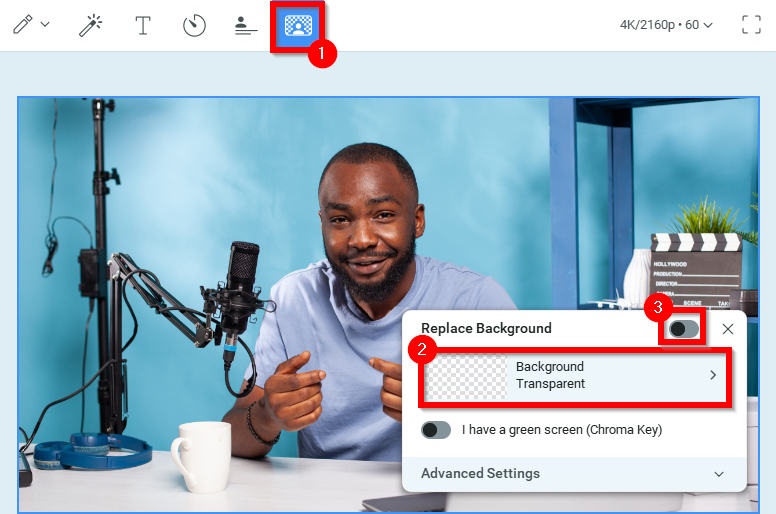
Click on the Virtual background icon, then select the Background replacement option and turn on the switch to enable the feature as shown below.
Learn more about Virtual backgrounds
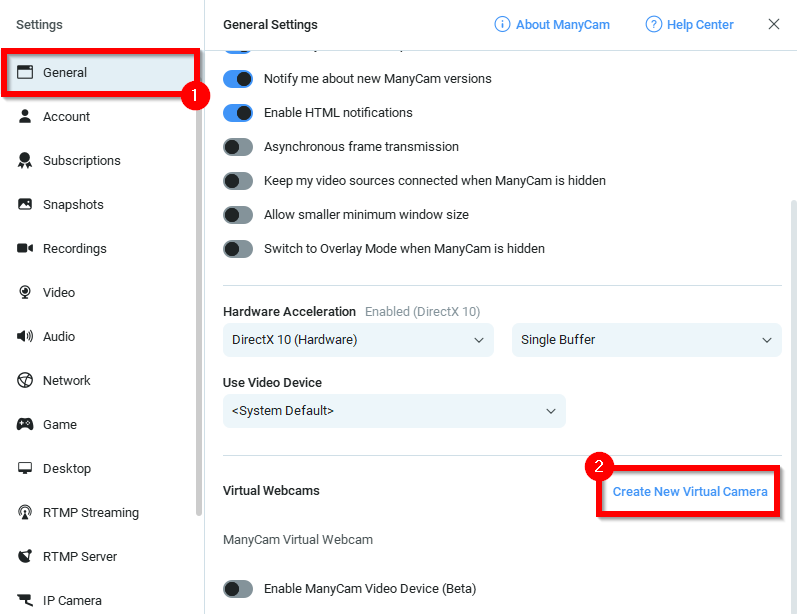
12. How do I apply a custom watermark and set a custom name for ManyCam Virtual Webcam? (Windows only)
This setting is available in the General tab of the ManyCam settings.
(ManyCam menu > Settings > General).
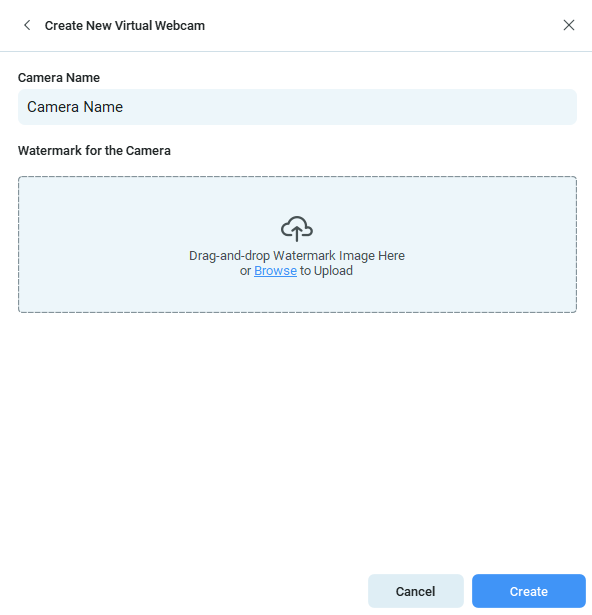
Press Create New Virtual Camera to proceed.
Enter the camera name, then click browse and add your watermark image. An image with a transparent background is preferable.
Learn more: Custom watermark