ManyCam offers a variety of video sources that you can use in your broadcast. You can add a single video source or combine multiple video sources, depending on your workflow (see how to add multiple video sources).
Add an IP camera
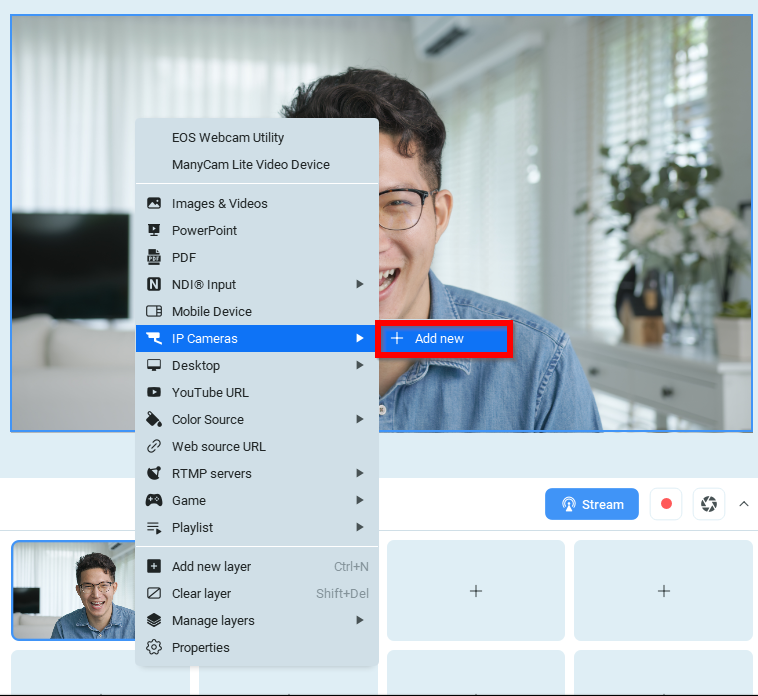
To get started, select IP Cameras > Add new from the list of ManyCam video sources that appears upon right-clicking on the Main Live Window.
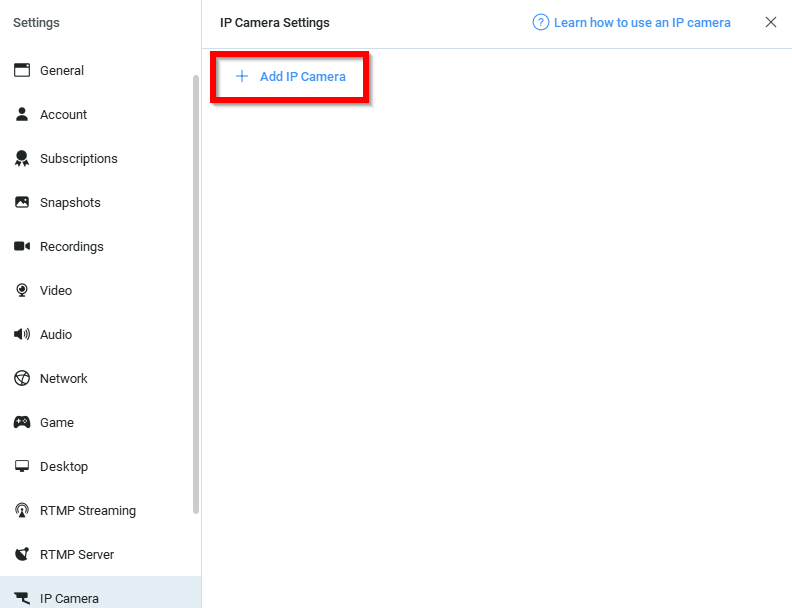
To add a new camera to the list, click the Add IP Camera button in the IP Camera Settings window that opens, and define a new IP camera in the dialog which will appear.
 Automatically detect and add IP camera within your local network
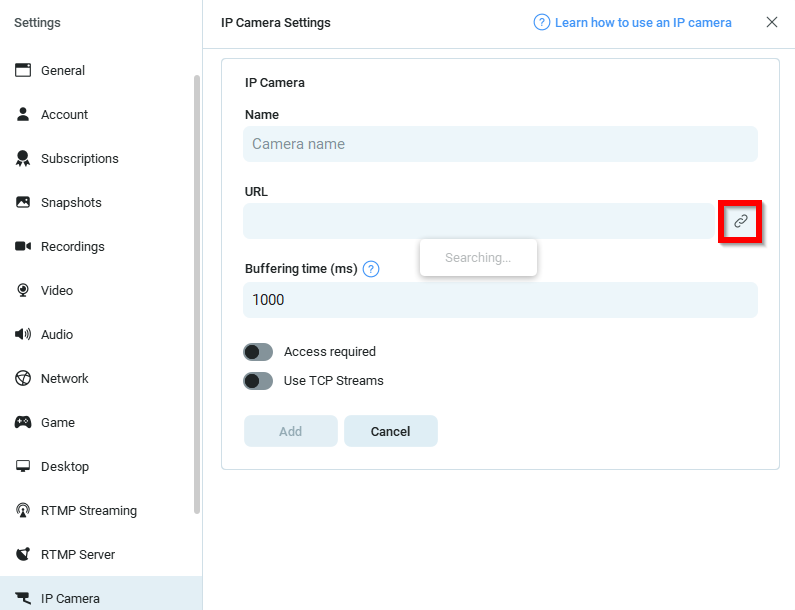
If supported by your IP camera, ManyCam will be able to find it automatically. ManyCam can find IP cameras within your local network only. To proceed, click on the chain icon as shown in the image below.
Add IP camera manually via URL
By default, the fields are empty until an IP camera URL or IP addresses are entered.
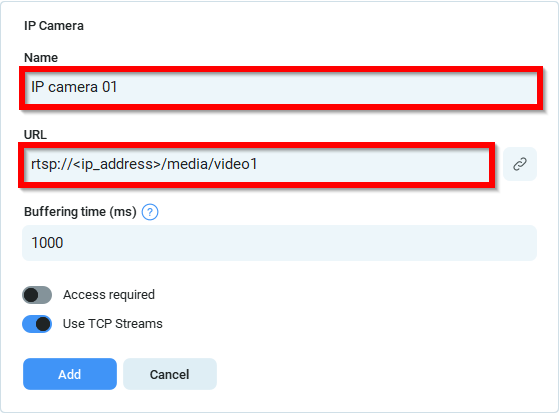
The only mandatory field is URL, which is the actual address of your IP camera. The name is used only for your IP cameras list — you may give your camera any name you want.
What IP camera URL should I use?
Determine if your IP camera uses MJPEG or H.264 compression by looking at its list of features or tech specs. The majority of IP cameras support either or both MJPEG (Motion JPEG) and H.264 video formats. MJPEG IP cameras send a steady stream of JPEG images as motion video while H.264 IP cameras use H.264 video format offering better compression and video quality. If your IP camera supports both compressions, ManyCam recommends using H.264 as it offers better quality and requires less bandwidth.
For MJPEG cameras the URL will use the http:// protocol while H.264 cameras use the rtsp:// protocol. The following are sample source URLs:
Sample MJPEG source URL: http://<ip_address>/mjpg/video.mjpg
Sample H264 source URL: rtsp://<ip_address>/media/video1
Learn your IP camera source URL or search Google for a list of available IP cameras on the web.
Set custom Buffering time for your IP camera stream
Sometimes you can experience interruptions and lags during your IP camera streams, which mostly happens due to network or hardware related issues. To address this and achieve smoother video playback and transmission, we suggest adjusting the Buffering time property in ManyCam Settings.
The buffer for an IP camera video feed is the amount of video content, in seconds, that ManyCam temporarily caches to your computer before it is playbacked. You can set the buffer time to any value you want with the Buffering time property in the IP camera settings:
ManyCam menu > Settings > IP Camera
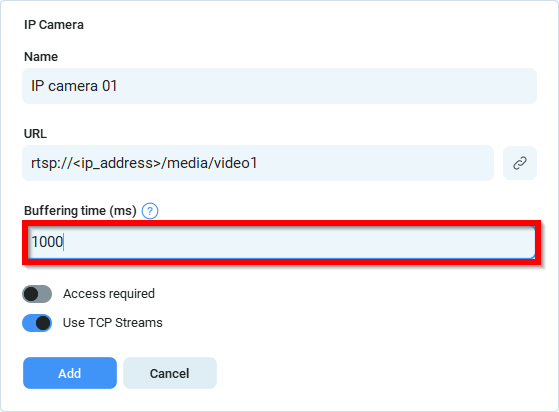
The default buffer cache is set to 1000 ms (=1 second), which commonly works great, however, finding the value that works best with your connection bandwidth might require some tweaking.
Troubleshooting
- Failed to load IP Camera. Connection to server failed: Connection refused
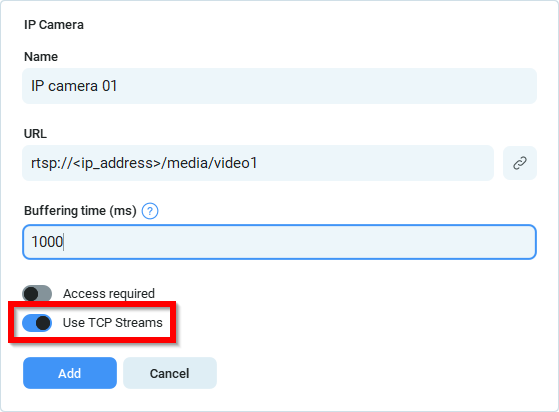
- If your IP camera is not loading, enable the “Use TCP Streams” setting:
