What is the Picture-in-Picture feature?
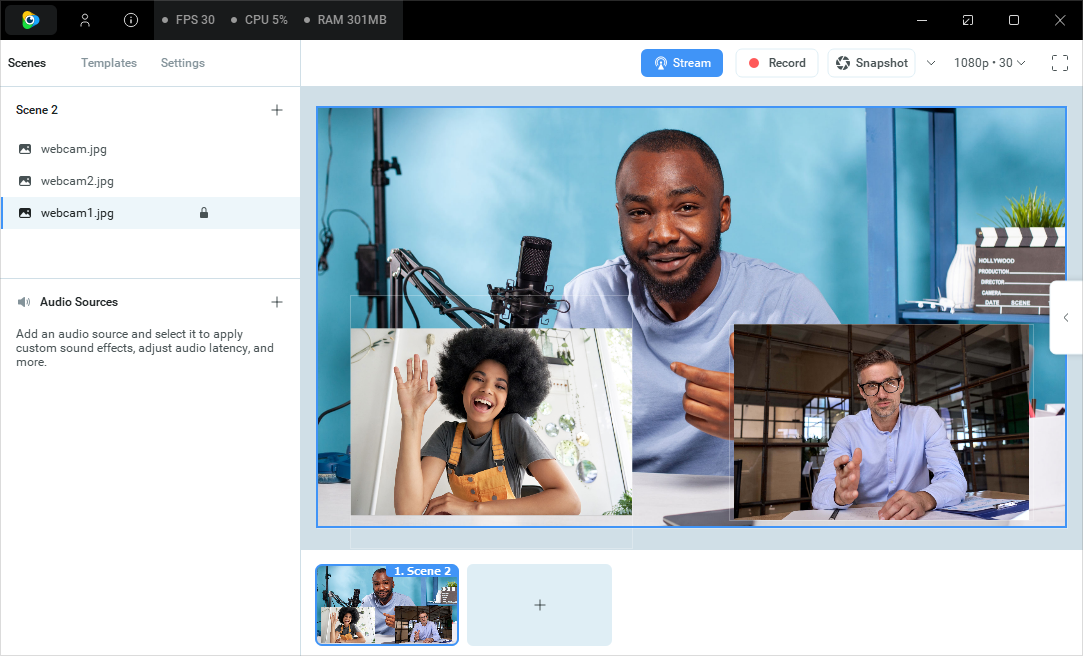
Picture-in-Picture is a ManyCam feature that allows you to add multiple video windows (layers) to your video feed. The PiP layers are fully customizable meaning you can resize them, move around the screen, bring them to back or front, clear, mute, remove and add as many layers as you want with different sources in them.
How to enable Picture-in-Picture mode in ManyCam?
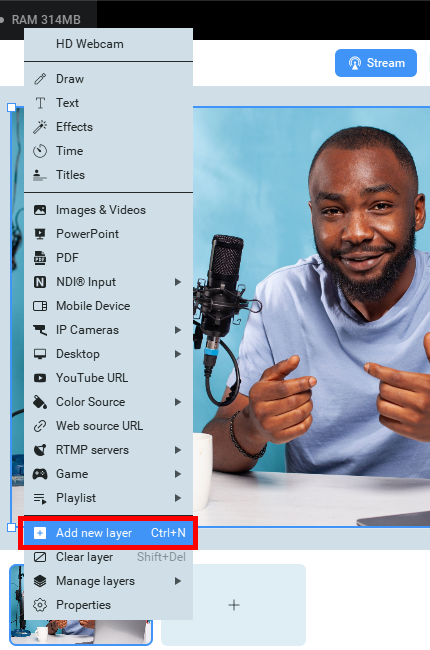
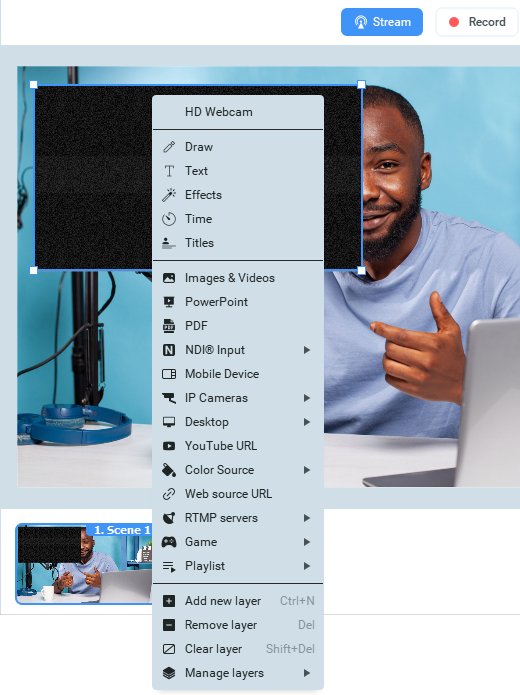
Right-click on the Main Live Window and select Add new layer.
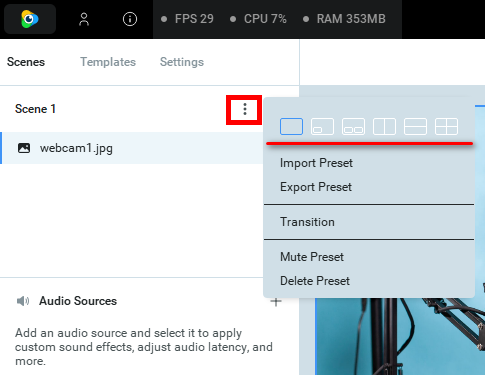
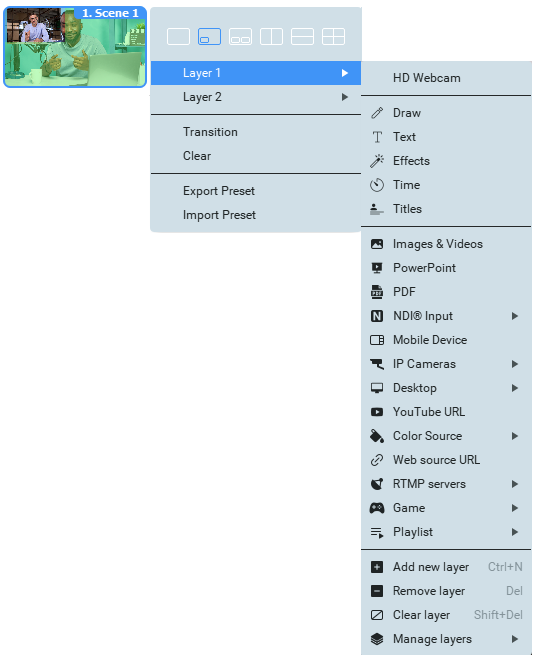
Alternatively, you can use Picture-in-Picture mode presets from the Scenes panel on the left. To do so, click on the three dots and select the PiP preset as shown below.
Adding a layer or an object
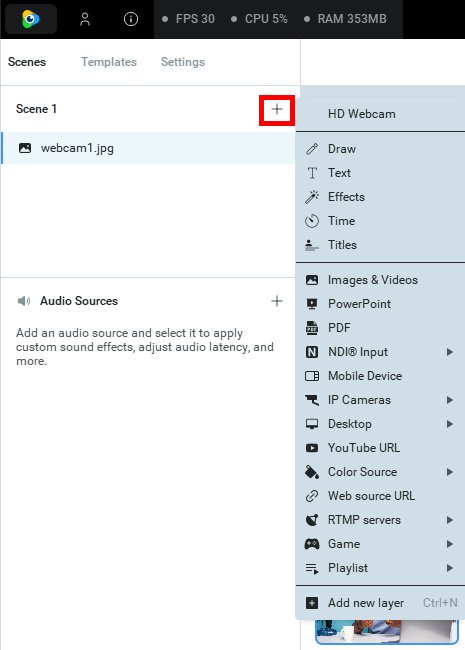
The + icon allows you to add more layers or objects into a scene. It is visible across all your scenes, making it easier to use and organize your video presets.
To add a layer, click on the + icon next to Scene as shown below. Then assign a video source to the layer by selecting one of the sources from the drop-down list that appears.
How to select a video source for a layer
There are plenty of video source options available in ManyCam, you can check out the full list here. There are a few ways to set a video source for a selected PiP layer. You can tell if the PiP layer is selected by a blue border along its edges. To select a layer, simply click on it.
To set a video source for a PiP layer, right-click on the layer you want to customize and select the video source from the drop-down list. Once selected, the layer will change its content accordingly.
Another way to customize your PiP layers is by clicking on a preset number. By doing so, you will access a list of all layers a PiP preset contains. Hover over any layer you see on the list to open a context menu with all ManyCam video sources.
Manage layers
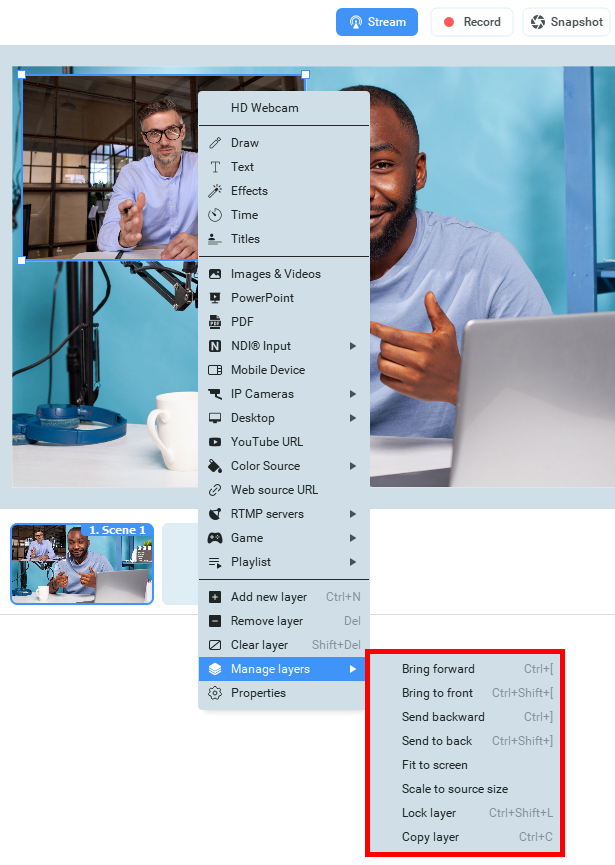
Any layer can be placed at the top or back of all other layers using the Bring to front and Move to back options. You can also clear any layer or fit it to screen with the Fit to screen and Clear layer options respectively. Lock layer will prevent it from being resized or moved. Scale to source size will resize the layer to match it source size. Bring forward and Send backward will move a layer one step up or down.
These options can be accessed through the Manage layers menu by right-clicking on any layer.
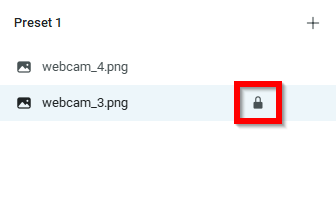
You can also lock any layer using the Lock icon that appears when you hover a cursor over a layer on the Presets panel on the left.
How to resize and move PiP layers around the screen
You can move any layer around the screen using your mouse by simply clicking and holding the cursor on any layer and dragging it to any location you want within the ManyCam Live Window. In the same manner, you can resize any layer window by positioning your cursor over any border of a layer and dragging it to one side or the opposite.
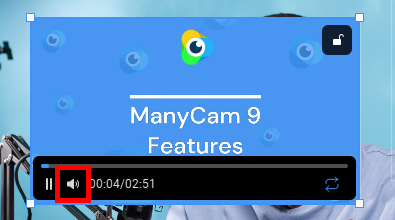
How to mute layers with video content
You can mute any layer that contains audio.
To mute a layer, click on the Audio icon in the lower-right corner of a layer.
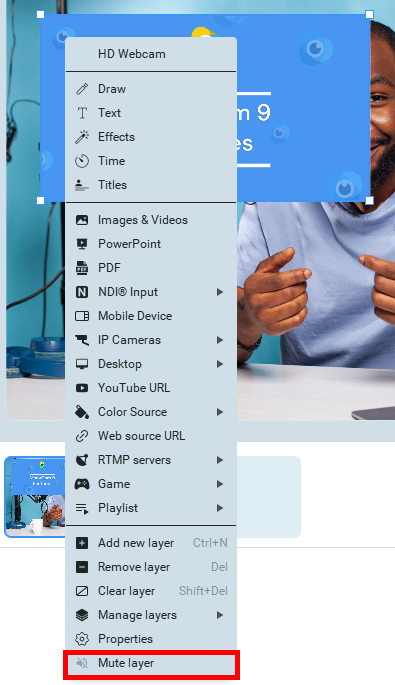
Another way to mute a layer is by accessing a context menu by right-clicking on a layer. In the opened drop-down list, select Mute layer. Use the same route to unmute a layer.
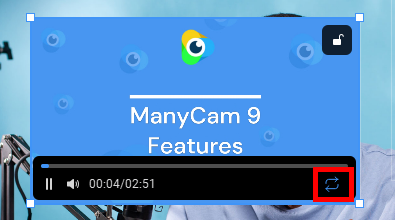
How to loop layer containing video
To loop a layer with video, click on the Loop icon in the lower-right corner of a layer.
How to clear a PiP layer
You can clear any selected layer from the Manage layers menu. Right-click on the layer and select Clear layer.

This action will not remove the layer from your preset, but will only clear its contents, resetting it to default.
How to remove a PiP layer from a preset
To remove any layers from your video preset, right-click on a layer and pick Remove layer from the opened drop-down list of options.
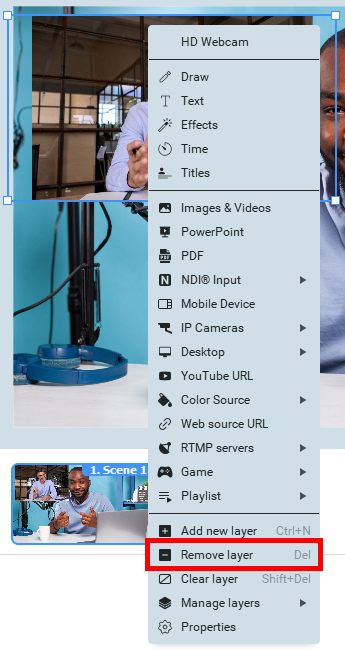
This will completely remove the selected layer and its content from your preset without any chance of restoring it.